

💡 For a better reading experience, download the PDF version of the manual .pdf and the Quick Guide.pdf
- System Requirements
- Downloading and installing the plugin
- Adding Dehancer to the Project
- Downloading Film and Camera Profiles
- License Activation (removing the watermark)
- Dehancer Updates
- Downgrading the Plugin, Legacy Downloads
- License Deactivation – IMPORTANT!
- Uninstallation
- Bug reports and feedback
- Vegas Pro plugin basics
- Supported color spaces and gamma
- Input source, camera profiles
System Requirements
Hardware requirements
- PC with Nvidia or AMD GPU
- CUDA or OpenCL compatible GPU
Known issues
- Vegas Pro does not support native access to GPU memory in plugins, resulting in lower performance compared to other hosts.
Software compatibility
- Windows 10 (64 bit), Windows 11 (64 bit), Genuine licensed installation is required
- Vegas Pro 2026 and later (the plugin may work on earlier versions)
Estimated GPU memory consumption
- FullHD – 4GB minimum / 8GB recommended
- 4K – 8GB / 12GB
- 6K – 12GB / 16GB
- 8K – 16GB / 24GB
💡 Note: We do not officially support virtual machines, although some configurations are known to work. Operation with hacked or modified host applications is not guaranteed.
Downloading and installing the plugin
- Make sure that your computer meets the system requirements for the plugin to work correctly.
- Download the latest version of the plugin.
2.1. Go to the Download Center
2.2. Select your host application and your product.
2.3. Hit the [Show] button and download the installer file. - Unzip the downloaded zip, if your system didn’t do it automatically.
- Make sure that you host application is not running. Please, keep it closed until installation is complete.
- Run the compatible installer and follow the installation steps:
- CUDA for Nvidia GPU
- OpenCL for AMD GPU - Restart Vegas.
Adding Dehancer to the Project
Before you start, you need to add Dehancer to the project. After that you will be able to perform the remaining steps of installation, downloading profiles and License Activation.
- Select any clip on the timeline
- Go to the All Plugins tab and find Dehancer.
- Click the + button to add Dehancer to the Video Event FX chain.
- If you have multiple compatible GPUs, select the best performing one in the plugin Options → Render Device.
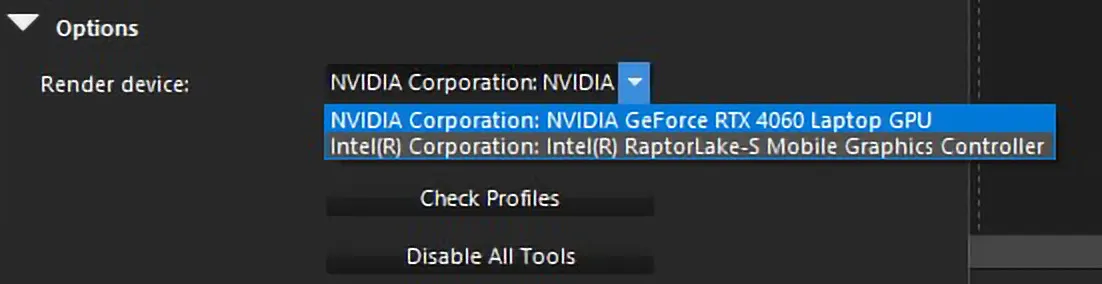
Vegas allows to use Dehancer plugin in different workflows and color pipelines, please refer to the Quick Guide for more information.
Downloading Film and Camera Profiles
Before using Dehancer you have to download film and camera profiles.
- Navigate to the bottom of the plugin settings and find the Check Profiles button. This allows you to download or update the profiles at any time.
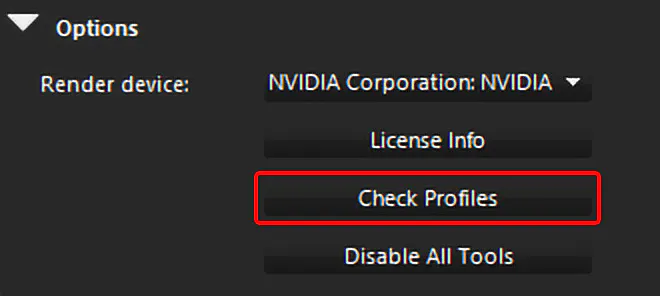
2. Navigate to the bottom of Dehancer plugin settings, find the Options section and click the Check profiles button.
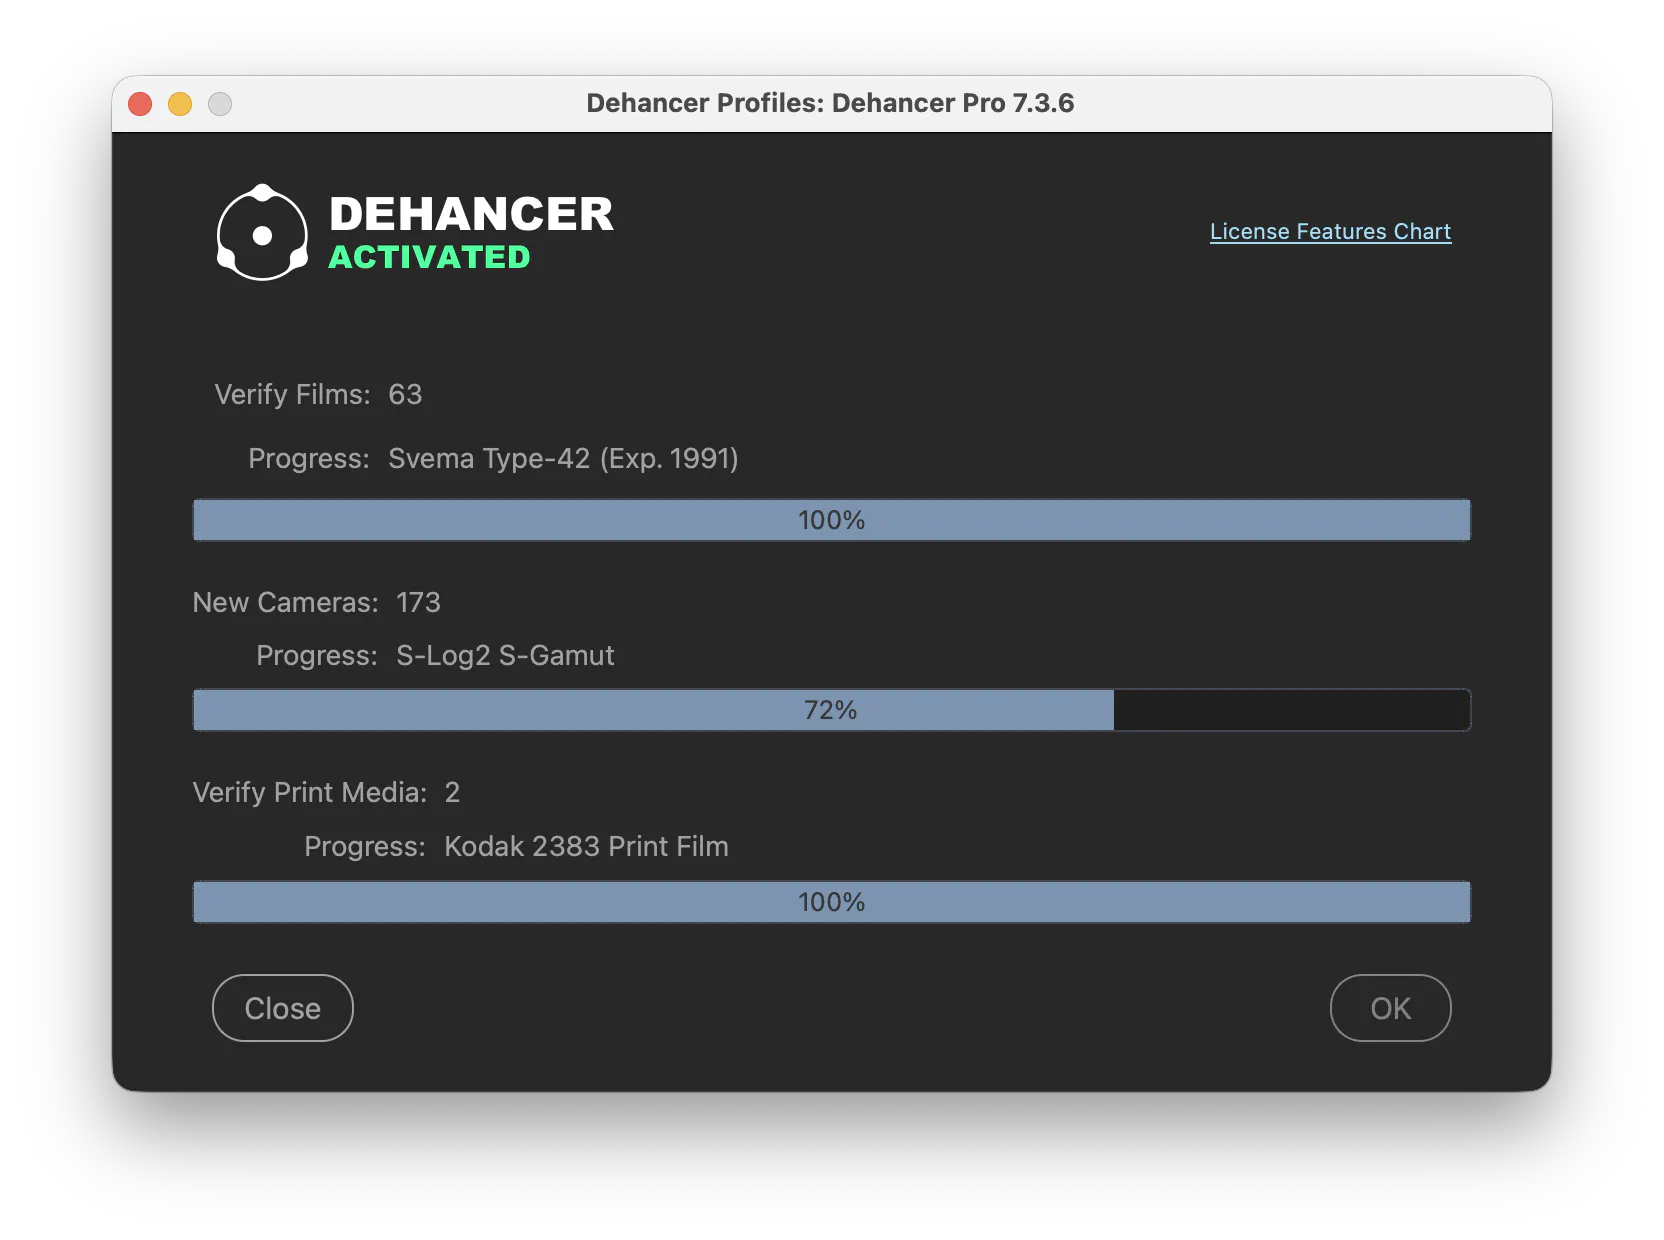
3. The Dehancer Profiles widget will open and the profiles will be downloaded and installed automatically.
Now Dehancer is ready to use.
License Activation (removing the watermark)
When the plugin is not activated:
- The watermark is applied to the preview and to the rendered footage
- The Lut Generator is disabled
To remove the watermark and to enable the Lut Generator tool, please activate the plugin. Notice that Lut Generator requires the FULL Dehancer Pro license or the Video & Photo Subscription and is not working with Dehancer Lite.
How to activate the plugin
- Buy the Subscription or Lifetime plan on our website.
To buy the Subscription, go to Pricing and select the desired plan.
After your purchase is complete, the notification will be sent to your email and your Subscription will be displayed in the User Profile.
Subscription plans for individuals include 3 independent seats that can be activated and deactivated within 3 different host applications.
Studio Subscription plan contains custom number of seats that are managed in the User Profile. Each seat can be activated on 1 workstation / device.
Lifetime plan contains 2 independent seats that can be activated and deactivated on 2 different devices.
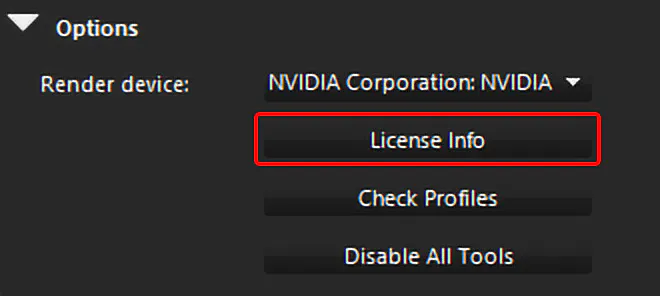
2. Navigate to the bottom of Dehancer plugin interface, find the Options section and click the License info button.
3. The License widget will open. There are two main options available:
- Login and select License (Online activation for Subscriptions and Lifetime plans)
- Production License (Offline activation for Production plans)
Login and select License (Subscriptions and Lifetime plans)
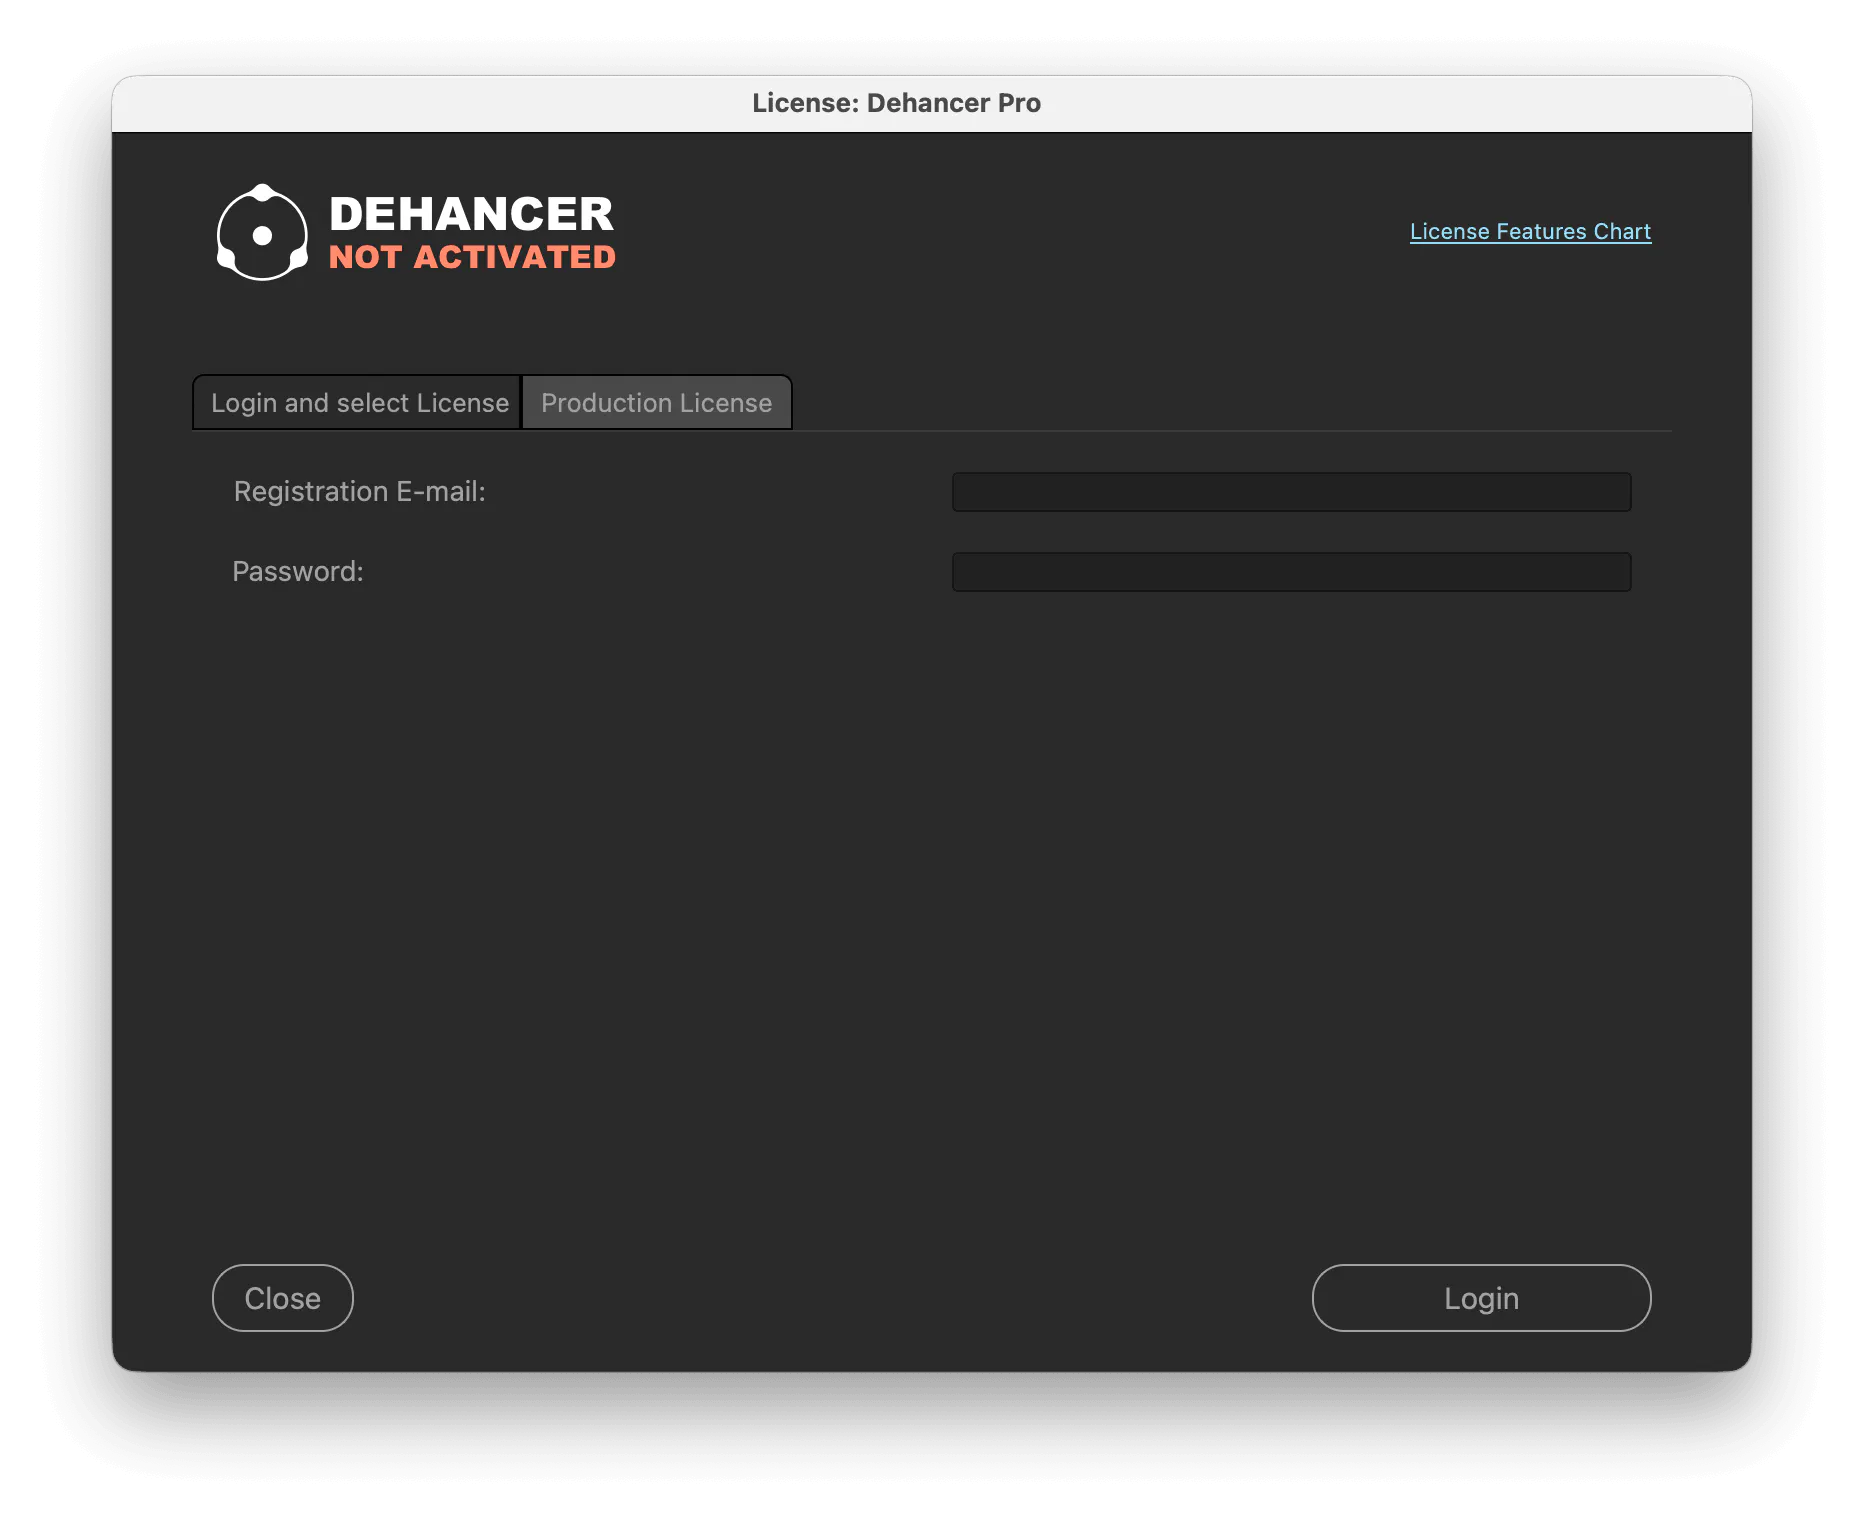
- Login with your Dehancer account.
- You will be presented with a list of Licenses available for your product. Select a Seat from the list, then press Activate plugin.
💡 Notice:
- Internet connection is required for Activation.
- Don’t forget to Deactivate from within the plugin interface before selling your computer, migrating or reinstalling the System.
Production License (Production plans)
Production plan users get the activation data from the local Production Server.
If you just deactivated your seat and don’t see the Production Licence tab, restart the Activation widget (close and reopen it from the plugin interface).
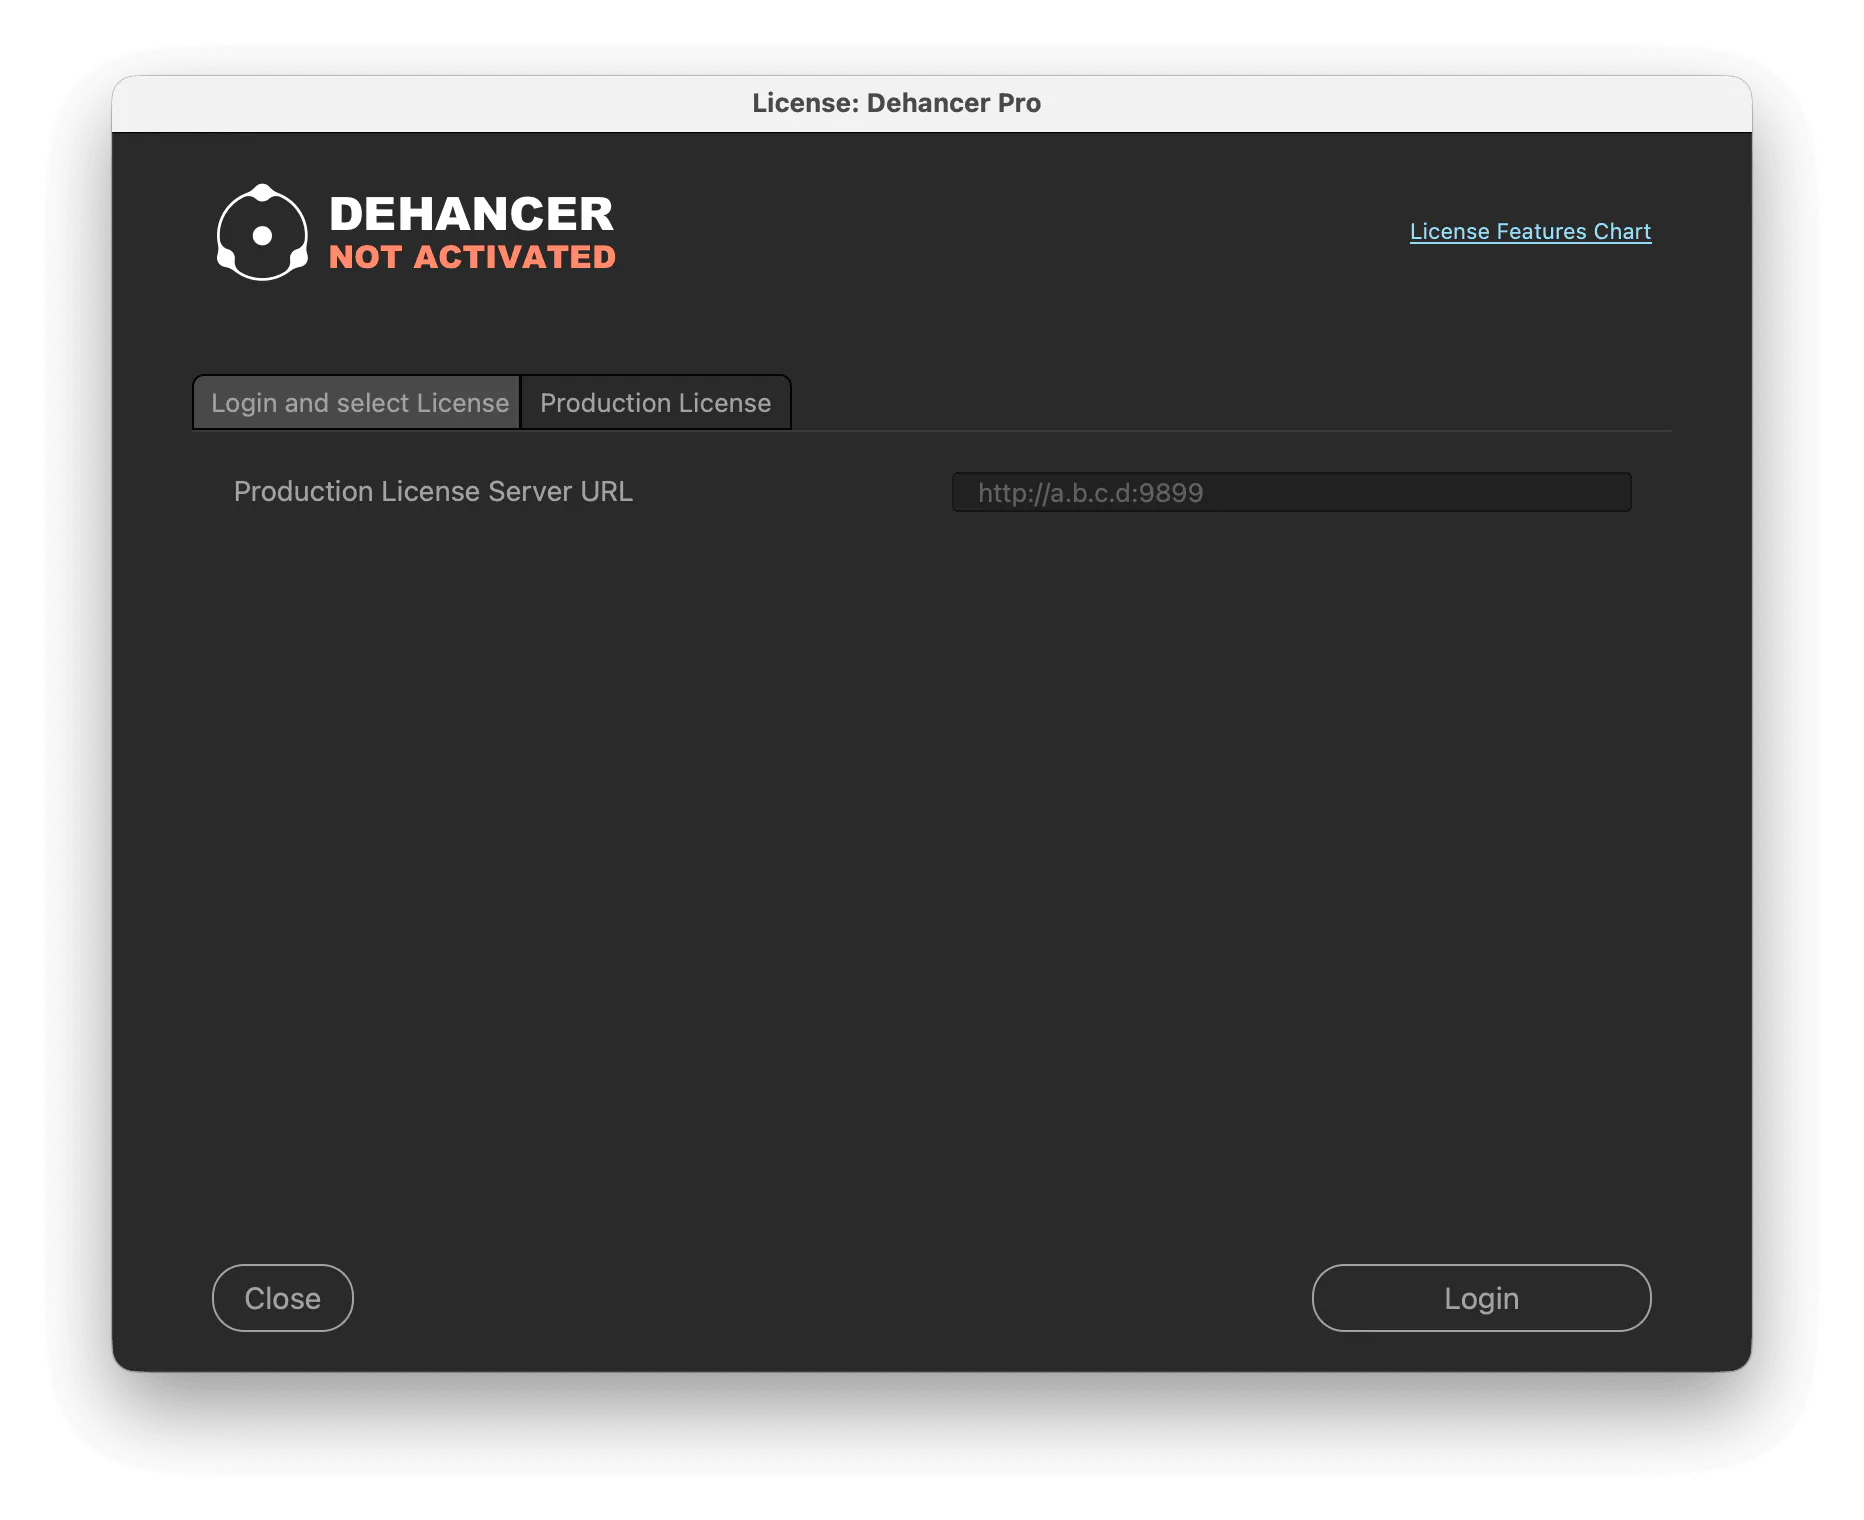
- Enter your Production Server URL you’ve received from your admin or the license owner. Press Login.
- After the activation is complete, close the widget and restart Vegas Pro.
Please don’t forget to DEACTIVATE from within the plugin interface before selling your computer, migrating or reinstalling the system.
Dehancer Updates
We update the plugin regularly, adding new features, fixing bugs and improving performance. Keep Dehancer up-to-date to get the most out of it.
We recommend that you avoid updating both the plugin itself and the host application until you are finished working on the important projects.
Checking the Updates
Check the actual product version:
- Go to the Download Center
- Select your host application and your product.
- If the new version is out, download and install it manually.
We always announce new versions on social media and newsletters, so stay tuned.
Minor Updates and hotfixes
Minor update replaces the existing plugin installation, keeping the settings compatible and the current License Seat activated.
Generally, Dehancer settings in existing projects are not affected, but this depends on many factors, including host version, operating system and the entire processing chain. Thus, avoid updating the plugin while you are working on a project.
Major Updates
Major updates usually include new features and other changes that does not technically allow to maintain the plugin settings compatibility.
New major version will be installed as a separate, independent plugin. It will not be compatible with an old plugin node settings and requires separate License Activation.
You can use a spare Seat or just Deactivate an older version to re-use the existing License Key.
BETA Updates
- Major BETA versions are installed as the separate plugins.
- Minor BETA versions will replace earlier releases.
Generally the settings are not compatible with the stable release and the plugin requires separate License Activation. You can use a spare Seat or just Deactivate an older version to use the existing License Key for beta testing purposes.
Downgrading the Plugin, Legacy Downloads
Sometimes you may need to downgrade the plugin to the previous version for compatibility reasons. You can download the legacy distributive on the website:
Download legacy installation packages for Vegas Pro OFX plugin
Unpack and install the plugin as usual, the newer version will be replaced with the older one.
Attention! After the downgrade incompatible adjustments made with the newer version of the plugin may be lost.
License Deactivation – IMPORTANT!
Please don’t forget to DEACTIVATE YOUR LICENSE from within the plugin interface BEFORE uninstalling the plugin, migrating your computer or reinstalling the OS.
To Deactivate any Dehancer plugin use the ‘License Info’ button in the plugin interface, then press ‘Deactivate’ and wait until deactivation is complete.
Uninstallation
How to Uninstall the plugin
- Deactivate the plugin you are going to remove (use ‘License Info’ button inside the plugin, then press ‘Deactivate’).
- Use the regular Windows uninstall procedure:
- Go to Control Panel → Programs → Programs and Features
- Press and hold (or right-click) on the plugin you want to remove and select Uninstall or Uninstall/Change
Bug reports and feedback
Please complete this checklist before requesting support:
- Make sure that your computer meets the system requirements for the plugin to work correctly.
- Install the latest version of Dehancer plugin. Please, check the actual product at the dehancer.com.
If you still encounter any issues, send bug report via support form.
Please provide the following information:
- Detailed error description
- Detailed System Information
- Vegas Pro and Dehancer versions
- Also we need several from your project along with a short fragment from the source video.
Vegas Pro plugin basics
Dehancer plugin is naturally integrated in Vegas and features all film emulation tools within the host interface and usual pipelines. However, there are some specifics:
Color Pipelines and Source Interpretation
You can perform the color transformation of your Log or RAW footage to any color space supported by Dehancer before the plugin in the processing chain. Then select the same space in Dehancer Input. The plugin output will match the input.
Dehancer fully supports ASES pipeline, and benefits from IDT camera profiles built in the host, if there are any.
Alternatively, you can use the camera profiles built in Dehancer. Set the timeline or clip space to rec.709, then select the camera model and Log type in the plugin Input section.
Also, you can apply additional Input corrections or use the Film Developer tool for deviated sources.
Grading Workflow Integration
Go to the All Plugins tab and find Dehancer.
Click the + button to add Dehancer to the Video Event FX chain.
You can open the Video Event FX window by clicking the FX button on the clip.
Normally Dehancer should be placed at the end of the processing chain, just to make all basic corrections before film emulation. Occasionally some specific FX may be placed after the plugin (for example, delivery sharpen, mastering curves, etc.)
Dehancer Performance
A good workstation requires professional grade hardware to play the 4K footage in realtime with consuming Dehancer effects like Film Grain or Halation. In real practice a modern GPU performs well.
If you have multiple compatible GPUs, select the best performing one in the plugin Options → Render Device.
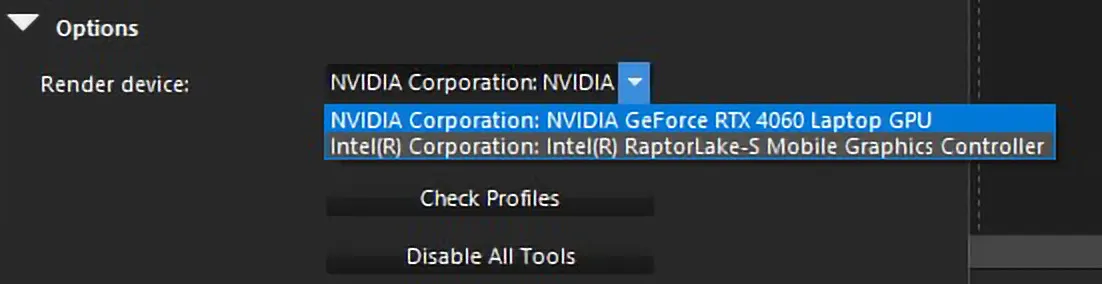
Please notice that in Vegas Pro, memory access for video plugins has some specifics, resulting in lower performance compared to other hosts.
💡 Related article:
Supported color spaces and gamma
Dehancer performs internal processing in a virtually unlimited gamut with 64 bit floating point precision and natively supports the following color spaces and gamma as input and output of the plugin:
Rec.709
Rec.2020 (SDR)
Apple Gamma 2.0
ACEScct (AP1)
Cineon Film Log
Plugin Input
Dehancer can properly process the source in any of the above listed spaces, assuming that the plugin Input settings match the actual color space / gamma of the footage (taking into account all color transformations applied before the plugin).
Plugin Output
The output of Dehancer always matches its Input color space setting, and the output device transform is performed by the host, just set the output node properly.
💡 Tip: Although all corrections work smoother and are more perceptual in ACES, some of the effects may behave in an unusual manner (such as the Halation and Bloom masks, etc). This pipeline has a lot of specifics that you'll have to get used to.
Input source, camera profiles
Thoughtful interpretation of Log and RAW clips is essential.
There are several ways to do this: Input camera profiles in Dehancer, Input Device Transform (ACES), camera vendor LUTs, manual de-Log, etc. Each method has its own benefits and drawbacks. You can choose and adjust your interpretation, according to the characteristics of the particular clip.
The proper Dehancer Input settings are crucial for both the source interpretation and the timeline integration of the plugin:
Source
The Source parameter in Dehancer should match your actual clip color settings.
See also: Supported color spaces and gamma
Choose Camera
The Choose Camera option allows you to select from the range of high quality custom camera profiles built by the Dehancer team.
The Rec.709 input is required to make use of Dehancer built-in camera profiles, and the Output of the plugin is automatically set to Rec.709.
Working with HLG and normal contrast source
Many cameras allow shooting in HLG, ‘Flat’ and various creative modes (for example, Sony Cinetone).
Camera profiles in Dehancer are designed to interpret low contrast Log video. Clips with normal contrast (HLG, Flat, Cinetone, etc.) do not need gamma curve interpretation and can be used as is, while Rec.709 should be selected in the Input of the plugin.
In this case, the Film Developer tool can be used to better adapt the video if it significantly falls out of the Rec.709 standards.
💡 Tips:
1. Before selecting a camera profile, make sure that all other conversions are turned off in the processing chain before Dehancer.
2. Camera profiles are custom made to meet our high aesthetic standards instead of just technically matching. Therefore, our profiles may and will differ from the factory LUTs or ASES IDT camera profiles.
💡 Related articles: